Multi-Colour 3D Printing: How It Works and What It Costs
Multi-colour prints look effortless and are not. What the machine actually does at every colour change, and why it carries a surcharge.
The short answer
Multi-colour FDM printing works by swapping filaments in a single nozzle, and at every swap the printer must purge the old colour out — which costs both material and time. On 3DprintLB a multi-colour part carries a 25% surcharge plus $2 per part. It is worth it for logos, nameplates, signage and two-tone models; it is rarely worth it for a part that will be painted.
A four-colour print looks like the machine simply knew which colour to use. What actually happens is stranger and more wasteful than most people imagine, and understanding it makes the surcharge obvious rather than arbitrary.
One nozzle, several colours
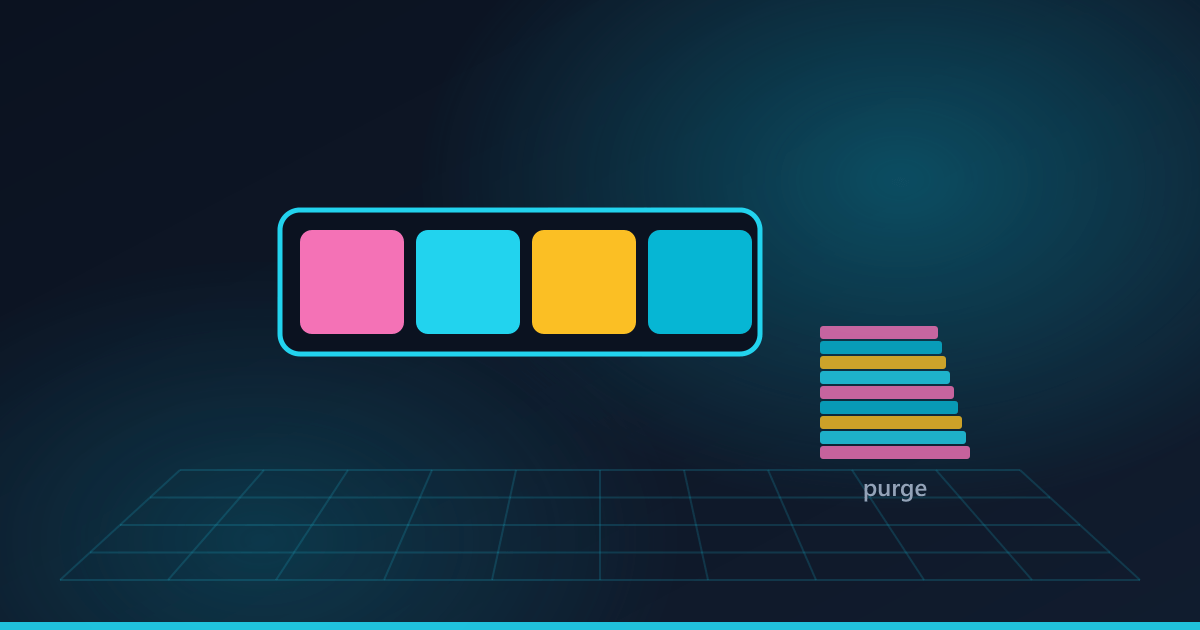
Multi-material systems such as Bambu Lab's AMS feed several spools into one hot nozzle. To change colour, the printer retracts the current filament, loads the next, and then extrudes enough of it to flush every trace of the previous colour out of the melt zone. That flushed plastic is waste — the familiar little pile of striped purge blocks beside a multi-colour print.
On a model that changes colour on every layer, the purge can use more plastic than the part itself, and the swap adds seconds to each layer. That is the whole reason for the surcharge: a 25% uplift plus a flat $2, which covers the purge material and the extra machine time.
When multi-colour is worth paying for
- Logos and brand pieces where the colours are the point.
- Nameplates, signage and door numbers — text in a contrasting colour reads far better than embossed text in one colour.
- Board game pieces and models where colour carries meaning.
- Gifts, where a two-tone piece looks considered and a painted one looks handmade.
When it is not
- Anything you intend to paint — paint over multi-colour is money spent twice.
- Functional parts inside a machine, where nobody sees the colour.
- Models where a colour change happens on nearly every layer; the purge waste can outweigh the effect.
Cheaper ways to get two colours
Two techniques cost nothing extra and are often better than they sound.
Split the model into parts
A sign with raised letters can be printed as a plate in one colour and letters in another, then glued. No purge, no surcharge, and often a crisper result than a colour change at a layer boundary.
Use a colour change by height
If your model only changes colour once — a base in black and a body in white, say — that is a single swap on one layer, not a per-layer swap. Tell us where the change should fall and it is close to free.
Ordering a multi-colour print
Upload the file and tick multi-colour, and the quote updates immediately with the surcharge included. If the model is a single mesh without colour information, message us with what you want where — most of these jobs are decided in a sentence.
Frequently asked questions
How much extra does multi-colour 3D printing cost?
25% on the part plus a flat $2. That covers the plastic purged at every colour change and the extra machine time the swaps add.
How many colours can you print in one part?
Up to four in a single print on our partners' machines. More than that is possible by splitting the model and assembling it.
Why does multi-colour printing waste filament?
Because a single nozzle has to be flushed clean at every colour change. The purged plastic is the striped block you see beside multi-colour prints, and on some models it weighs more than the model itself.
Is it cheaper to paint a print instead?
Often, yes — if you are painting it anyway, printing in one colour and painting is the cheaper route. Multi-colour earns its cost where the finish must look moulded rather than painted.
Can you print a colour change at a specific height?
Yes, and it is much cheaper than a full multi-colour print because it is one swap rather than hundreds. Tell us the height and the two colours.
Got a file to print?
Instant price, delivered anywhere in Lebanon for a flat $5.