10 Rules for Designing a Part That Actually Prints
The design decisions that separate a part that comes off the bed perfectly from one that needs supports, sanding and a second attempt.

The short answer
Design overhangs at 45 degrees or shallower so they need no supports, keep walls at 1.6 mm or thicker, add a chamfer under holes and overhangs, avoid sharp internal corners, and orient the part so that loads run across layers rather than pulling them apart. These five choices remove most of the reasons a print fails or looks poor.
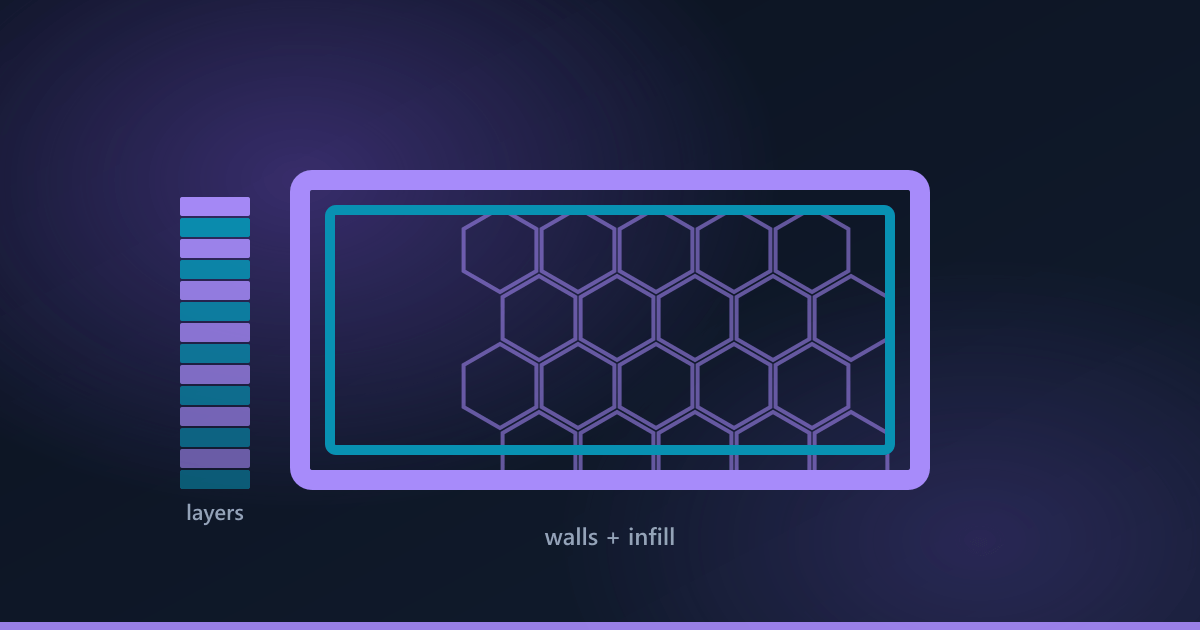
A printer builds an object one layer at a time onto the layer beneath it. Every rule below follows from that single fact.
1. Keep overhangs at 45 degrees or less
Each layer must rest on the one below. Up to about 45 degrees from vertical, a layer is supported well enough by the layer under it. Beyond that it needs scaffolding, which costs material, time, and leaves marks where it is removed. Designing to 45 degrees is the single highest-value habit in printed part design.
2. Turn horizontal holes into teardrops
A hole printed on its side has a flat roof at the top — a horizontal overhang that sags. Adding a small point at the top, turning the circle into a teardrop, keeps every part of it within the 45-degree rule and prints cleanly without supports.
3. Chamfer the first layer, fillet the rest
A 45-degree chamfer where the part meets the bed prevents the slight lip that forms on a first layer. Elsewhere, rounding internal corners spreads stress instead of concentrating it — sharp internal corners are where printed parts crack first.
4. Make walls at least 1.6 mm
The nozzle lays lines around 0.4 mm wide. At 1.6 mm you get four solid lines, which is a genuinely strong wall. Anything under 1 mm is fragile, and under 0.4 mm cannot print at all.
5. Design for the print direction
Parts are weakest along the build axis. A hook, a lever or a bracket should be laid out so the pulling force runs across the layers rather than trying to peel them apart. If you know how a part will be loaded, say so — it changes how we place it on the bed.
6. Leave clearance for parts that fit together
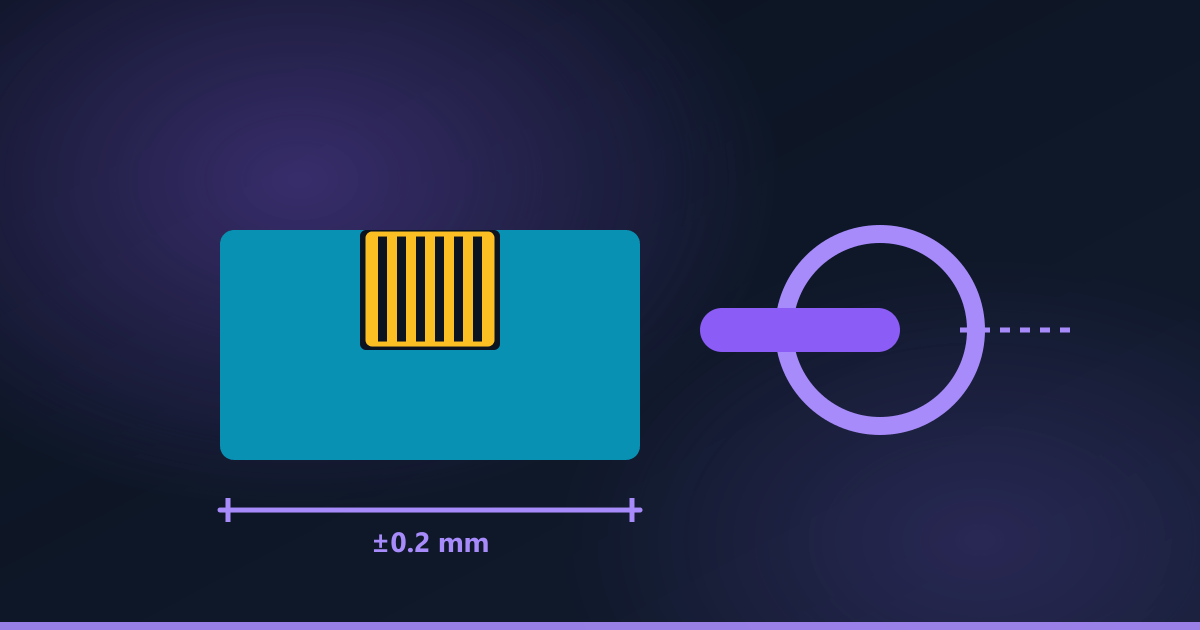
Two printed parts modelled to exactly the same dimension will not fit. Allow about 0.2 mm of clearance for a snug fit, 0.4 mm for something that should slide, and more again for anything that must move freely. Printed plastic also swells very slightly at the first layer.
7. Avoid tall, thin, unsupported features
A thin spike printed vertically wobbles as the nozzle hits it, and quality degrades near the top. Thicken it, add a fillet at the base, or split the model and glue.
8. Use a flat face on the bed where you can
A large flat area in contact with the bed is the most reliable start a print can have. If the natural orientation gives no flat face, it is often better to split the model in two and bond it than to print it on supports.
9. Do not print threads if you can avoid them
Printed threads work, but coarse ones only, and they wear quickly. For anything that will be tightened more than a few times, design a hexagonal pocket for a captive nut, or a plain hole for a heat-set brass insert.
10. Design the part, then design the print
A part that is beautiful in CAD but needs supports over 60% of its surface is a worse part than a slightly plainer one that prints clean. Splitting a model into two pieces that each print flat, then bonding them, is not a compromise — it is standard practice, and it is how large models are made at all.
Frequently asked questions
What is the maximum overhang angle for 3D printing?
About 45 degrees from vertical without supports. Steeper than that and each layer has too little of the layer below to rest on, so it droops.
How much clearance should I leave between parts that fit together?
Roughly 0.2 mm for a snug press fit, 0.4 mm for a sliding fit, and more for anything that must rotate freely. Modelling both parts at the same nominal size guarantees they will not fit.
How do I avoid needing supports?
Keep overhangs at 45 degrees or shallower, turn horizontal holes into teardrops, chamfer under overhanging features, and split the model where a face would otherwise print in mid-air.
Should I print threads or use inserts?
Use heat-set brass inserts or captive nuts for anything that will be assembled and disassembled repeatedly. Printed threads are fine for coarse, occasional use.
Is it bad to split a model into pieces?
Not at all — it is normal practice. Splitting to get flat faces and avoid supports usually produces a better part than printing the whole thing at an awkward angle, and it is the only way anything larger than a print bed gets made.
Got a file to print?
Instant price, delivered anywhere in Lebanon for a flat $5.