Layer Height, Infill and Walls, Explained Without Jargon
The three settings that decide whether your part is strong, pretty, cheap or fast — and why you can only ever have three of the four.
The short answer
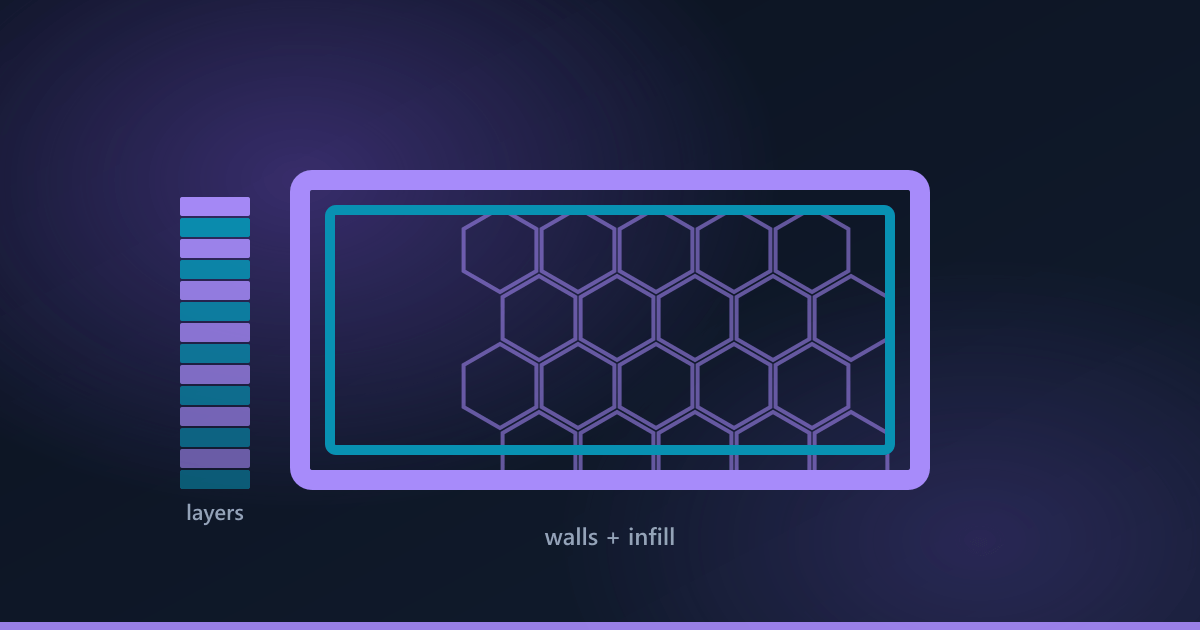
Layer height is the thickness of each printed slice and controls smoothness and print time. Walls are the solid outer shell and are the main source of a part's strength. Infill is the internal lattice, given as a percentage, and controls weight and cost more than strength. For most parts, more walls beats more infill.
Three settings explain nearly everything about how a printed part behaves. You do not need to set them yourself — we do — but knowing what they trade off tells you what to ask for.
Layer height: smoothness against time
A print is built from stacked layers, and layer height is how thick each one is — typically between 0.1 mm and 0.3 mm. Thin layers give a smoother surface and finer detail on curves. They also mean more layers, so a part at 0.1 mm takes roughly three times as long as the same part at 0.3 mm.
| Layer height | Looks | Time | Good for |
|---|---|---|---|
| 0.1 mm — fine | Very smooth | Slowest | Display pieces, fine detail, visible curves |
| 0.2 mm — standard | Good | Balanced | Almost everything |
| 0.3 mm — draft | Visible lines | Fastest | Big blocky parts, first prototypes, hidden components |
Walls: where strength actually comes from
The walls are the solid outer shell — usually two to four lines of plastic thick. This is the single most misunderstood part of printing: for most kinds of load, adding walls strengthens a part far more efficiently than adding infill. A part with four walls and 15% infill is typically stronger, lighter and cheaper than the same part with two walls and 50% infill.
Walls also determine what the part looks like, since they are the surface you see and touch. A part with thin walls shows the infill pattern faintly through the surface.
Infill: weight, cost, and a bit of stiffness
Infill is the lattice inside the shell, described as a percentage of solid. It stops the top surface from sagging, adds stiffness, and controls how much plastic the part uses — which is why it is the setting that moves your price most.
| Infill | Use it for | Effect on price |
|---|---|---|
| 15% — light | Decorative pieces, models, display parts | Cheapest |
| 25% — standard | General purpose, our default | Baseline |
| 50% — strong | Brackets, mounts, parts under load | Noticeably higher |
| 100% — solid | Small parts needing maximum strength or weight | Highest, and slow |
The one that matters more than all three
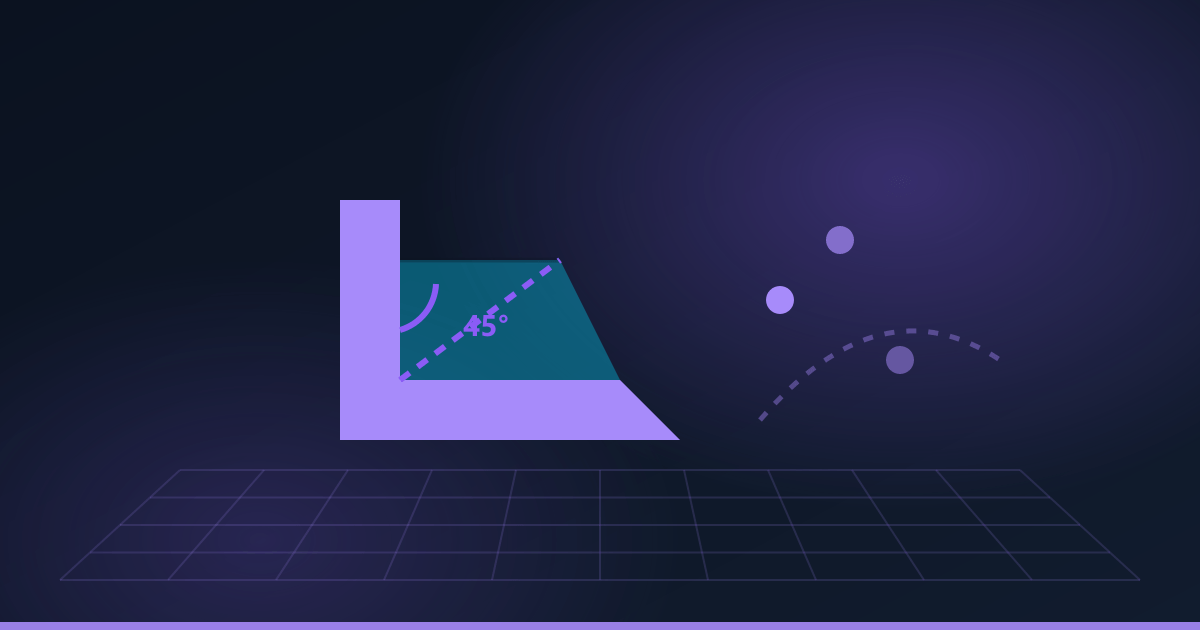
Orientation. A printed part is markedly weaker along the axis it was built up in, because layers are bonded rather than continuous — pull two layers apart and you are testing the bond, not the plastic. A hook printed flat on the bed can be several times stronger than the same hook printed standing up. When you tell us how a part will be loaded, this is the setting we are choosing.
What to ask for
- Say what the part does and where the force comes from, not which settings to use.
- For anything decorative, ask for light infill — it is the cheapest and no weaker where it matters.
- For anything load-bearing, say so and we will add walls and orient it accordingly.
- For a first prototype, say it is a prototype: a fast draft-quality print is often the right call at half the wait.
Frequently asked questions
What infill percentage should I use?
15% for decorative parts, 25% as a general default, and 50% for parts that carry load. 100% is rarely worth it — it costs the most and adds less strength than extra walls would.
Does higher infill make a part stronger?
Somewhat, but far less efficiently than adding walls. Going from two walls to four typically strengthens a part more than doubling infill, while using less plastic.
What layer height is best?
0.2 mm for almost everything. Use 0.1 mm when the surface is on show and worth the extra time, and 0.3 mm for large, blocky or hidden parts where speed matters more than looks.
Why is my part weak in one direction?
Because layers bond to each other rather than being continuous material, so a part is weakest when pulled apart along its build direction. Orientation is chosen at printing — tell us where the load comes from and we will orient it to suit.
Do I have to choose these settings myself?
No. You pick a strength tier when ordering and we handle layer height, walls and orientation. Telling us what the part is for is more useful than telling us a percentage.
Got a file to print?
Instant price, delivered anywhere in Lebanon for a flat $5.