From Revit, Rhino or SketchUp to a Printed Model
Architectural software is built for drawings, not printers. The export settings, thickness rules and repair steps that turn a design model into a printable one.
The short answer
Export as STL in millimetres at real-world size, and make sure every element is a closed solid rather than a surface. In Rhino use File then Export Selected with a 0.01 mm tolerance; in SketchUp install the free SketchUp STL extension and check the model with Solid Inspector; in Revit use Autodesk's free STL Exporter add-in. The most common failure is not the export — it is walls that are too thin once scaled down.
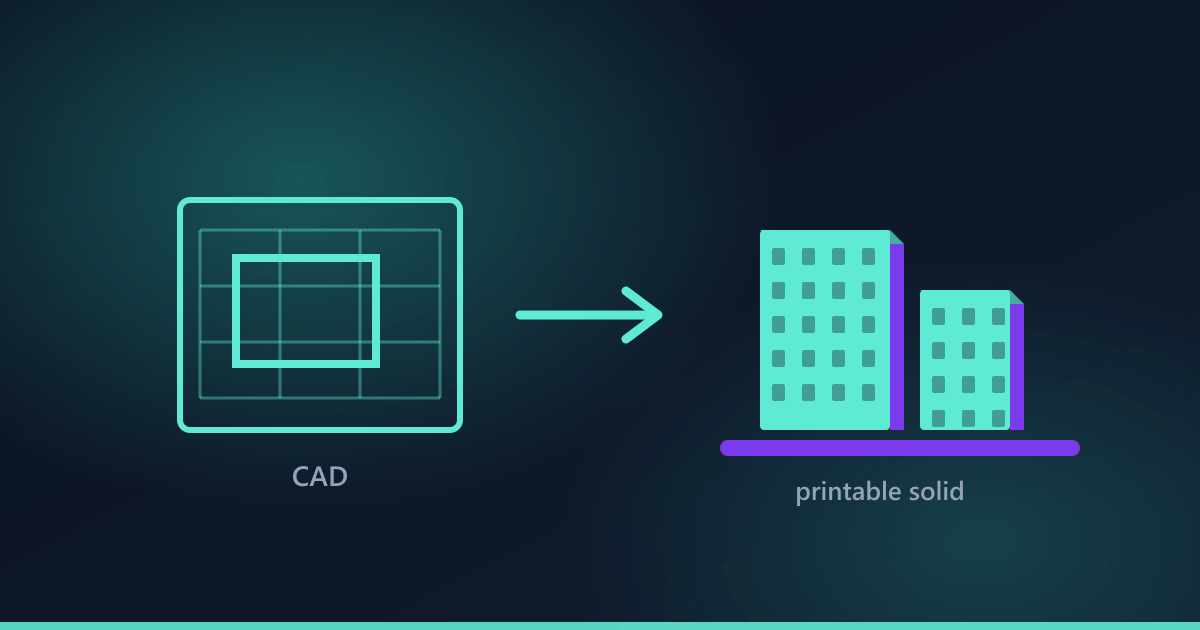
Architectural software models buildings as information: walls that know they are walls, glazing that knows its schedule. A printer wants none of that. It wants one closed watertight solid with real thickness everywhere. Bridging the two is a short, learnable process.
The thickness rule comes first
Before exporting anything, do the arithmetic. Divide your real wall thickness by the scale denominator. A 200 mm wall at 1:100 becomes 2 mm — comfortable. At 1:200 it becomes 1 mm, which is the absolute minimum. At 1:500 it becomes 0.4 mm, which cannot be printed.
- Below roughly 1:200, do not model hollow buildings — print solid massing volumes instead.
- Glazing usually disappears entirely at model scale. Either omit it and leave the opening, or model it as a recessed solid panel.
- Railings, mullions and window frames at 1:100 are often thinner than a printed line. Thicken them deliberately, or leave them out.
- Anything that must survive being handled — and a model always is — wants 1.6 mm rather than 1 mm.
Rhino
The most cooperative of the three, because it already thinks in solids.
- Run the SelOpenPolysrf command. Anything it selects is not a closed solid and will not print correctly — cap it or join it.
- Select everything you want printed, then File, Export Selected, and choose STL.
- Set units to millimetres and the export tolerance to about 0.01 mm. Finer than that inflates the file with no visible benefit.
- Choose binary rather than ASCII STL — the same geometry at a fraction of the size.
SketchUp
The one that produces the most unprintable files, because it is a surface modeller by nature and will happily let you build a house out of paper.
- Install the free SketchUp STL extension from the Extension Warehouse — SketchUp does not export STL without it.
- Install Solid Inspector 2 as well. It finds holes, internal faces and reversed faces, and fixes most of them.
- Give every surface real thickness with Push/Pull. A face with no thickness cannot print, however solid it looks.
- Check that each building is a group or component reporting as solid in Entity Info. If it does not say solid, it is not.
- Export in millimetres.
Revit
Revit models are usually the most complete and the most awkward, because they contain everything — pipework, families, layers of construction detail — and a printer needs none of it.
- Install Autodesk's free STL Exporter for Revit add-in; STL export is not built in.
- Create a dedicated 3D view for printing and hide everything that will not be printed: MEP, furniture, annotation, topography you do not want.
- Use a section box to crop exactly the extent you want as a model.
- Export that view to STL in millimetres.
- Expect to repair the result. Revit exports many separate solids that intersect one another, which is legal in Revit and confusing to a slicer.
ArchiCAD and AutoCAD
ArchiCAD exports STL natively through Save As — the same thickness and solidity rules apply. AutoCAD exports STL from true 3D solids using the STLOUT command, but not from surfaces or 2D geometry given thickness for display.
Repair before you send
Almost every architectural export needs repair, and it is not a criticism of your modelling — it is the difference between drawing a building and manufacturing one. Microsoft 3D Builder on Windows repairs a surprising share of it: open the STL, accept the repair prompt, save. Netfabb's online repair service and Meshmixer's Inspector handle the rest.
A checklist before exporting
- Every element is a closed solid, not a surface.
- Walls are at least 1 mm thick at printed scale, ideally 1.6 mm.
- Nothing floats or touches only at a point — everything overlaps into what it connects to.
- The model is exported in millimetres at real-world size.
- Elements that will not read at scale — railings, mullions, glazing — have been thickened or removed on purpose.
- The exported file has been opened and looked at before sending.
Frequently asked questions
How do I export an STL from Revit?
Install Autodesk's free STL Exporter for Revit add-in — Revit has no built-in STL export. Then create a 3D view containing only what you want printed, crop it with a section box, and export in millimetres.
What tolerance should I use exporting STL from Rhino?
Around 0.01 mm, in binary format. Finer tolerances multiply the file size without any visible improvement at model scale.
Why will my SketchUp model not print?
Almost always because the geometry is surfaces rather than solids. Every face needs real thickness applied with Push/Pull, and each building should report as solid in Entity Info. Solid Inspector 2 will find what is wrong.
How thick do walls need to be on an architectural model?
At least 1 mm at the printed size, and 1.6 mm if the model will be handled. Divide your real thickness by the scale: a 200 mm wall is 2 mm at 1:100 and 1 mm at 1:200. Below that, print solid massing rather than hollow buildings.
Do I need to repair the file myself?
No. Send what your software produces and we will tell you what needs fixing — repair is part of a project quote. Doing it yourself simply gives you more control over how the model turns out.
Got a file to print?
Instant price, delivered anywhere in Lebanon for a flat $5.